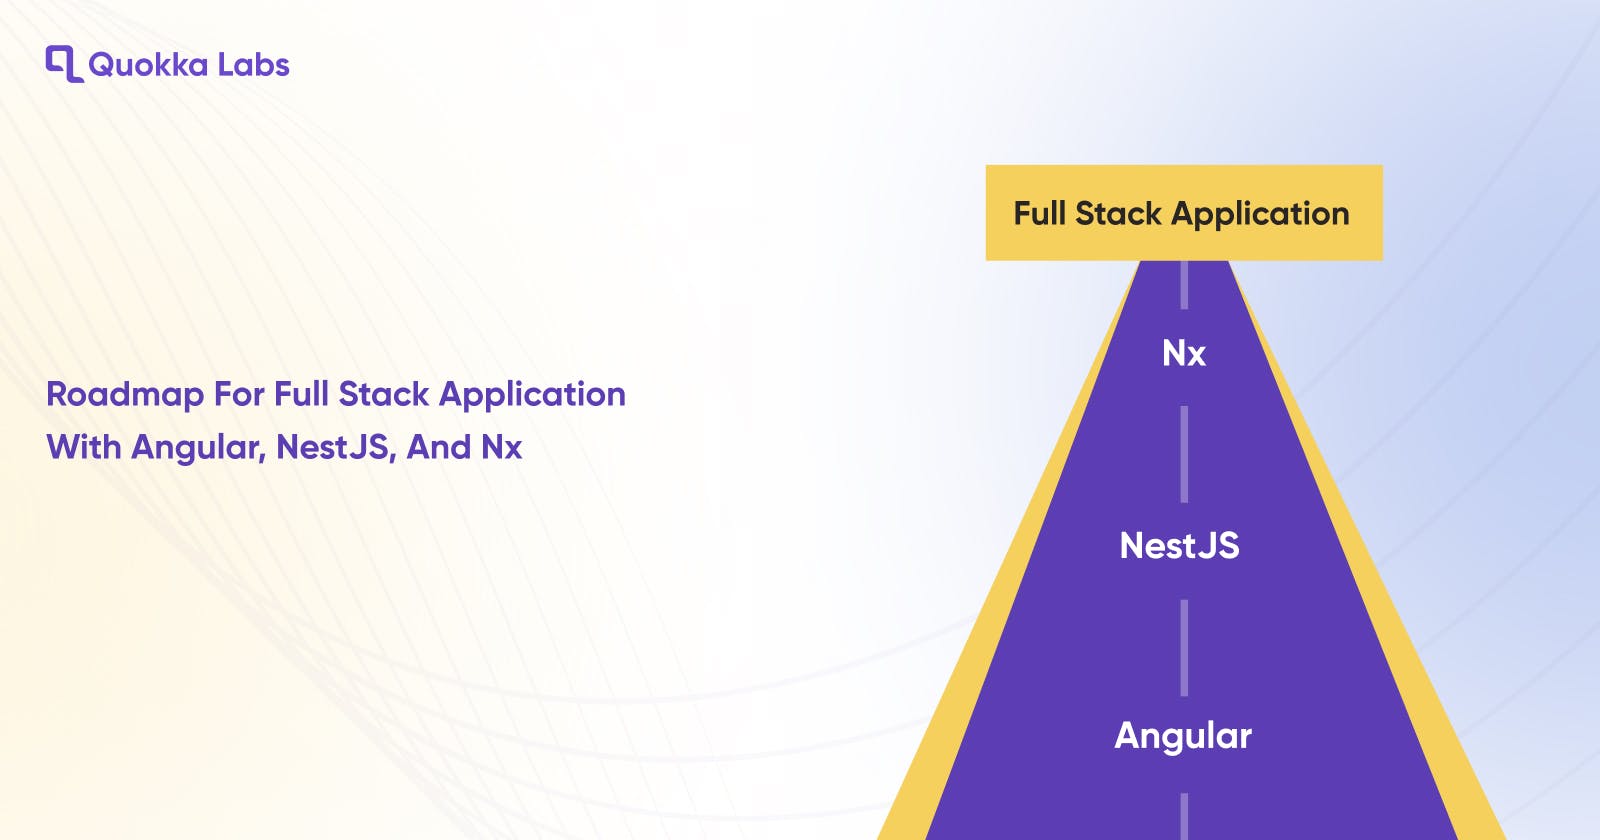
Nothing could be better than angular when we think about web application development for the client side. Angular is famous as a front-end development framework. But to access the full stack app development accessibilities, you need additional support.
Nowadays, developers like the combination of Angular, nest JS and Nx. It is one of the most impressive resources to develop a complete full-stack application. Some go with Node JS, and others choose other technology.
You can manage the front-end accessibilities through Angular and backend accessibilities with NestJS. Everything will be packaged in the Workspace, which is Nx.
Nx is known as a general purpose development build system and CLI. It is compatible with Java, C#, Javascript, TypeScript, Go, etc. It provides all basic formalities to build, test, and lint the applications and libraries with TypeScript and Javascript.
Additionally, we can understand the Nx in a way that it's a tool suit that contains the essential functionalities to deploy, architect, and access & manage monorepos. You can scale up as per the requirement. Nx has an inbuilt plugin and exclusive support for the front-end(Angular, React) and backend frameworks(Express, Next, Nest).
Nx has many accessibility tools that offer the basic default configurations and options. We have set up the Nx Workspace in this guide and built the sample application with Angular(Front End Project) and NestJS(Backend End Project).
PermalinkHow FullStack Application Development Managed with Angular, NestJS & NX?

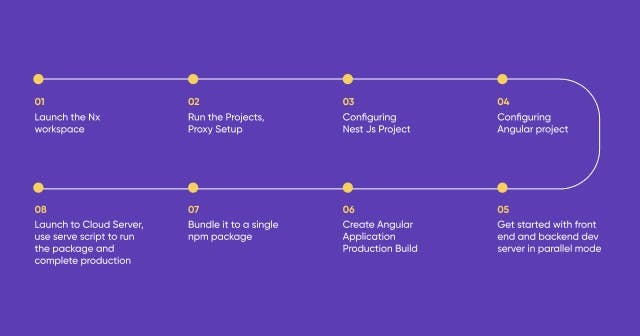
We must launch the Nx workspace to manage the entire full-stack web application development. Once the environment is set up, we will start the app development process with Angular and NestJS.
npx create-nx-workspace@latest

? Workspace name (e.g., org name)
?Name the creation new workspace angular-nest
? Application name                    client
? Default stylesheet format           CSS
? Use the free tier of the distributed cache provided by Nx Cloud. No
// (to keep things simple for now)
Now create a new directory and assign a workspace name to it
Under apps/client, create a new Angular project
Inside apps/ API, create a fresh NestJS Project
Create a sample typescript library inside libs/api-interfaces. It will be accessed by the client and api both.
Nx provides vital features that make the application development clean, organized, and faster.
For unit tests, it offers Jest
As E2ESpecs, we have Cypress
Prettier will manage the systematic code formation
Moreover, it has access to the TSLint setting for workspace management.
We have set up the sample project. Now we will run these two in two terminal windows to serve the client and API:
[Terminal 1]: npm run nx -- serve client
[Terminal 2]: npm run nx -- serve API
As you can see, we are executing two different commands; one will drive the angular dev-server and compile and manage the front end through localhost. (http://localhost:4200)
**Another command line will use to run the NestJS dev-server, which is our backend project. The command line will also compile and serve the outcome through localhost(https://localhost:3333/api.) **
Here we want to tell you one extraordinary thing about this Nx workspace is that it has given relief from the proxy configuration situation. It can manage this through the proxy request to http://localhost:4200/api NestJS dev-server.
You can follow this path and check the status for configuration: apps/client/proxy.conf.json. For reference file status, you can access angular.json.
**Open the localhost:4200 page on the browser, check the network status, and refresh the page to see the XHR request result of proxy setup. http://localhost:4200/api/hello **
- Access all controllers and configure the NestJS project through the following prefix:
const globalPrefix = 'api';
  app.setGlobalPrefix(globalPrefix);
The prefix path is: apps/api/src/main.ts
**To serve a static chunk of data, we have an AppController presented by Nx. It is a Rest-Controller. Then a message will define as follows with the annotated path: ** libs/api-interfaces/src/lib/api-interfaces.ts
export interface Message {
  message: string;
}
This message will be stored in the shared library so both projects can access it, managing the type of safety.
**AppController Method Declaration annotated here asking NestJS project to expose fresh GET-endpoint inside the following: ** http://localhost:3333/api/hello
  @Get('hello')
  getData(): Message {
    return this.appService.getData();
  }
PermalinkThe server will be in the running stage during this process.
NestJS project is configured for the backend responsibilities and server-side process. With the same, Angular project configure setup will also process to access the sample GET request. You can get help regarding the Fronted component from here:
apps/client/src/app/app.component.ts
Follow this samplecode:
export class AppComponent {
  hello$ = this.http.get<Message>('/api/hello');
  constructor(private http: HttpClient) {}
}
On the template, it will invoke through an async pipe:
<div>Message: {{ hello$ | async | json }}</div>
We have previously mentioned the angular dev-server source location, so the request will be directed to the same path, http://localhost/4200/api/hello, to manage the client-side call and access the request. Angular proxy config will access this message request through the httpClient call and process to the backend server, that is, NestJS Server.
We’re done with front-end and back-end proxy server configuration. We need to run the process in parallel mode for both on the Nx workspace. It is a node-helper.
npm install --save-dev concurrently
**After running this single-line command, we need to jump over the next step of package adoption: package.json **
"start:fe": "ng serve client",
"start:be": "ng serve api",
"dev": "concurrently -p=\"{name}\" -n=\"NestJS,Angular\" -c=\"green,blue\" \"npm run start:be\" \"npm run start:fe\"",
Give command npm run dev to drive angular and NodeJS dev servers in parallel mode. The prefix name is painted in color to differentiate the status and process info.
Every basic fundas process has been done. Now we have to conclude the things in a single executable npm package. This will be available for both the front end and back end.
Create Angular Application Production Build
⇒  npm run nx -- build client --prod

> my-fullstack-project@0.0.0 nx /Users/hrichert/Projects/my-fullstack-project
> nx "build" "client" "--prod"


> ng run client:build:production
Generating ES5 bundles for differential loading...
ES5 bundle generation complete.
NestJS Server Configuration so that can serve frontend inside rootlocation. This package bundling is required to be done. So we can manage the deployment with CloudFoundry or any other cloud service provider.
You can check the compilation response output of frontend development inside dist/apps/Client. Next, we need to manage the NestJS configuration for which we will access the rootlocation path.
With that, we also need to do the installation of the serve-static package to serve them. npm install --save @nestjs/serve-static
For this, we need to import the required package and configure the setup process for ServeStaticModule
It will go with this:
import { ServeStaticModule } from '@nestjs/serve-static';
import { join } from 'path';

// ...
@Module({
  imports: [
    ServeStaticModule.forRoot({
      rootPath: join(__dirname, '..', 'client'),
    }),
  ],
  // ...
})
export class AppModule { }
The above code will direct the backend NestJS to manage all its contents to the../client side from dist/app/api and also serve to the main root location path.
If you run the angular-dev server through backend npm run start and direct to the http://localhost:3333/ it will generate the same results.
Add the script to the npm package and complete the application deployment. We are taking our last step; after that, we will have our full-stack application.
{
    ...
    "files": ["dist/apps/client", "dist/apps/api"],
    ...
    scripts: {
    "serve": "node dist/apps/api/main.js",
    ...
    }
}
**You need to type the script package.json and add dist-files. When we execute the npm pack, we will get a quick response as a tarball file. You’ll find it in the project directory. **
⇒  npm pack
npm notice
npm notice 📦  my-fullstack-project@0.0.0
npm notice === Tarball Contents ===
// ...
npm notice === Tarball Details ===
npm notice name:          my-fullstack-project
npm notice version:       0.0.0
npm notice filename:      my-fullstack-project-0.0.0.tgz
npm notice total files:   14
Here the package is bundled successfully. We can launch it to any cloud provider and run it for production using npm install–production. The serve script will act as a start command to run the package.
In local mode, you can simply unwrap the tarball file. You just need to follow 2 line process. First run npm install–production Next, do npm run serve.
Follow the basic fundamental concept, and you can develop any complete stack application by following the quick guide instruction.
We have developed this post with the reference support:
Well, If you are interested in knowing-
You can share the application idea that you're going to develop soon!
Written by
Quokka Labs is an IT Products & Services consulting company striving to design, develop, and deploy solid and scalable software systems to help enterprises, startups, and brands grow and scale digitally. We are proud to be recognized as one of the top app development companies by GoodFirms and Clutch.
Website- https://www.quokkalabs.com/
Published on
Quokka Labs' Blogs
Quokka Labs is an IT Products & Services consulting company striving to design, develop, and deploy solid and scalable software systems to help enterprises, startups, and brands
Quokka Labs is an IT Products & Services consulting company striving to design, develop, and deploy solid and scalable software systems to help enterprises, startups, and brands

